Bikram yoga has 26 postures and 2 breathing exercises, always practised in the same fixed order: Standing Deep Breathing, 12 standing postures, a short Savasana, 13 floor postures, and Blowing in Firm to finish. A full class of these hot Bikram yoga poses takes 90 minutes in a room held at 40°C (105°F) with around 40% humidity.
That is the short answer. The longer one is below: every Bikram yoga posture in order with its English and Sanskrit name, what each one asks of your body, a cue for your first class, and why some lists online only count to 24. At YogaFX Bali we teach the full sequence daily in Seminyak and Canggu, in rooms warmed by Bali’s natural tropical heat rather than electric heaters.
All 26 Bikram Yoga Poses in Order: Names, Sanskrit and Sequence
Use this chart as your quick reference. The sequence never changes from class to class, so once you know the order you always know what is coming next. The two breathing exercises sit outside the numbered list, which is how the 26&2 name works.
| No | English name | Sanskrit | Series | What it works |
|---|---|---|---|---|
| Breathing | Standing Deep Breathing | Pranayama | Opening | Breath control, settling into the heat |
| 1 | Half Moon | Ardha Chandrasana | Standing | Side body, spine |
| 2 | Hands to Feet | Pada-Hastasana | Standing | Hamstrings, back of the spine |
| 3 | Awkward (chair pose) | Utkatasana | Standing | Thighs, calves, ankles |
| 4 | Eagle | Garurasana | Standing | Hips, shoulders, balance |
| 5 | Standing Head to Knee | Dandayamana-Janushirasana | Standing | Balance, hamstrings, core |
| 6 | Standing Bow Pulling | Dandayamana-Dhanurasana | Standing | Balance, backbend, shoulders |
| 7 | Balancing Stick | Tuladandasana | Standing | Whole-body strength, balance |
| 8 | Standing Separate Leg Stretching | Dandayamana-Bibhaktapada-Paschimotthanasana | Standing | Hamstrings, inner thighs |
| 9 | Triangle | Trikanasana | Standing | Legs, hips, side body |
| 10 | Standing Separate Leg Head to Knee | Dandayamana-Bibhaktapada-Janushirasana | Standing | Hamstrings, neck, compression |
| 11 | Tree | Tadasana | Standing | Hip mobility, balance |
| 12 | Toe Stand | Padangustasana | Standing | Knees, ankles, balance |
| 13 | Dead Body | Savasana | Transition | Rest, heart rate recovery |
| 14 | Wind-Removing | Pavanamuktasana | Floor | Hips, lower back |
| 15 | Sit-Up | (no Sanskrit name) | Floor | Transition, core |
| 16 | Cobra | Bhujangasana | Floor | Lower back strength |
| 17 | Locust | Salabhasana | Floor | Lower back, glutes, hamstrings |
| 18 | Full Locust | Poorna-Salabhasana | Floor | Whole back body |
| 19 | Bow | Dhanurasana | Floor | Full backbend, chest, shoulders |
| 20 | Fixed Firm | Supta-Vajrasana | Floor | Front of thighs, hip flexors, knees |
| 21 | Half Tortoise | Ardha-Kurmasana | Floor | Shoulders, upper back |
| 22 | Camel | Ustrasana | Floor | Deepest backbend, chest |
| 23 | Rabbit | Sasangasana | Floor | Spinal flexion, neck |
| 24 | Head to Knee | Janushirasana | Floor | Hamstrings, one side at a time |
| 25 | Stretching | Paschimotthanasana | Floor | Hamstrings, both legs |
| 26 | Spine Twisting | Ardha-Matsyendrasana | Floor | Spinal rotation |
| Breathing | Blowing in Firm | Kapalbhati in Vajrasana | Closing | Forceful exhalation, core |
Want the technical detail on individual postures, with dialogue cues? The complete Bikram yoga asana reference on our teacher training site goes deeper, posture by posture.
How Many Poses Are in Bikram Yoga? Why Some Lists Stop at 24
Search for the Bikram yoga poses and you will find lists numbered to 24, 25 and 26, sometimes on the same page of results. The sequence is identical in all of them. What changes is which movements get their own number.
Three counting habits explain almost every difference you will see:
- Pairs merged into one. Half Moon and Hands to Feet flow straight into each other, and so do Head to Knee and Stretching. Many lists give each pair a single number, which removes two from the total.
- Transitions left out. Some lists skip Sit-Up and the Savasana after the standing series, treating them as rest or movement between postures rather than postures in their own right.
- Breathing counted inside the 26. Older lists number Standing Deep Breathing and Blowing in Firm as postures 1 and 26, then combine other pairs to stay at 26.
The 26&2 name settles it: 26 postures plus 2 breathing exercises that sit outside the count. Split the two pairs, count Savasana and Sit-Up, and keep the breathing separate, and you land on 26 every time. That is the convention in the chart above, and it is how the class unfolds when you are standing in the room.
None of this changes what you actually do in a 90-minute class. It only matters when you are trying to match an online list to what a teacher is calling out, which is exactly when a mismatched number becomes confusing.
The First Pose: Standing Deep Breathing (Pranayama)
Every class opens with breath, not a posture. You stand with feet together, interlace your fingers under your chin, and inhale slowly through the nose as the elbows rise, then exhale through the mouth as the head tilts back and the elbows come together. It is repeated in two sets.
The point is settling into the heat and taking control of the breath before any physical demand begins. Our guide to the two Bikram breathing exercises explains what each one is doing and why the class starts and ends with them.
The Standing Series: 12 Bikram Yoga Standing Poses Explained
The standing series takes up roughly the first hour of class. Each posture is done twice, and the second set is usually where you go a little deeper because the body is warmer. It moves from a spine warm-up, through leg strength and balance, into long stretches, and finishes with two quieter balances.
Half Moon Pose (Ardha Chandrasana)
Half Moon is the first real work of the class. Arms overhead and palms together, you bend to the right, to the left, then backward, lengthening the side body and opening the front of the spine. Beginner cue: keep the arms locked beside your ears and let the hips push the opposite way, instead of folding at the waist.
Hands to Feet Pose (Pada-Hastasana)
Hands to Feet follows straight on from Half Moon, which is why many lists merge the two. You fold forward, grip behind your heels and pull your upper body toward your legs, stretching the hamstrings and the back of the spine. Beginner cue: bend your knees as much as you need to get your chest onto your thighs first. Straight legs come later, sometimes months later.
Awkward Pose (Utkatasana)
Awkward Pose, also searched as Bikram chair pose, is a three-part squat. Part one looks like sitting in an invisible chair, part two lifts you onto your toes, and part three lowers you down with the knees together. It builds strength through the thighs, calves and ankles. Beginner cue: in part one keep your weight in the heels and your spine upright rather than leaning forward.
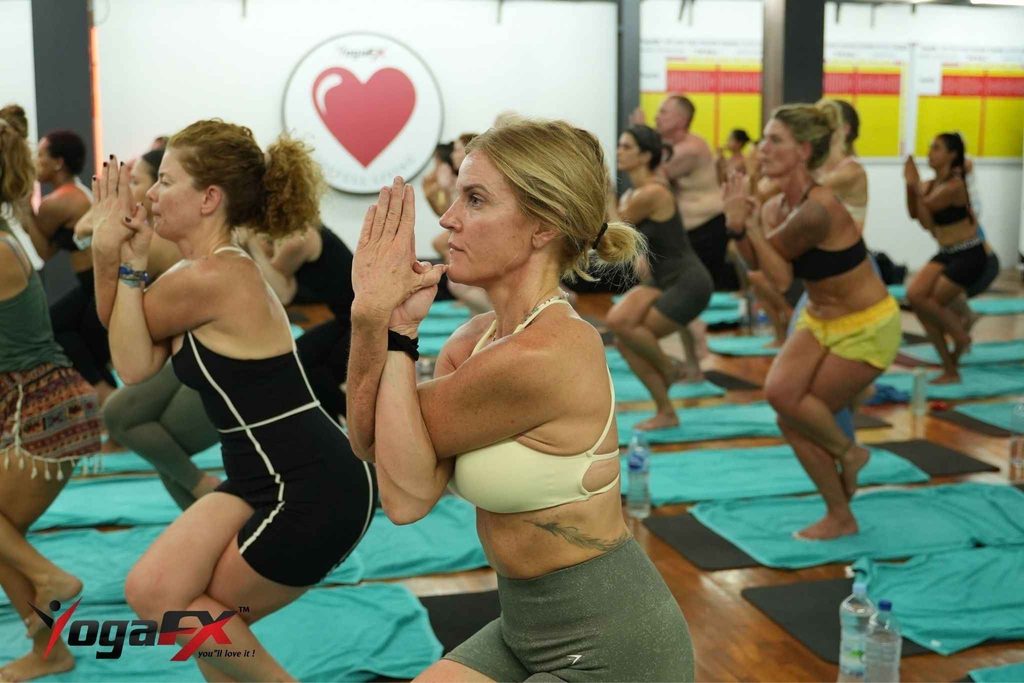
Eagle Pose (Garurasana)
Eagle wraps one arm around the other and one leg around the other while you sit low on the standing leg. It asks for hip and shoulder mobility and a surprising amount of focus, because balance and a twisted grip happen at the same time. Beginner cue: if your foot will not hook behind the calf, rest the toes on the floor beside the standing foot and keep the knees crossed.
Standing Head to Knee Pose (Dandayamana-Janushirasana)
Standing Head to Knee opens the balancing series. You stand on one locked leg, hold the other foot with both hands, kick it forward until the leg is straight, then bend the elbows and bring the forehead toward the knee. Very few people finish every stage in their first year. Beginner cue: lock the standing knee and stay there. For now, that is the posture.
Standing Bow Pulling Pose (Dandayamana-Dhanurasana)
Standing Bow Pulling is a balance and a backbend at once. You hold one foot behind you, reach the other arm forward, and kick the held leg up as the upper body tips forward, like a bow being drawn. Heart rate tends to climb noticeably here. Beginner cue: kick first and let the body follow, rather than dropping the chest and hoping the leg rises.
Balancing Stick Pose (Tuladandasana)
Balancing Stick is one of the shortest holds in the standing series, about ten seconds, and many students still call it the hardest. Arms overhead and one leg extended behind, you tip forward until arms, torso and leg form one line parallel to the floor. Beginner cue: pull the arms forward and the leg back, as if two people were stretching you in opposite directions.
Standing Separate Leg Stretching Pose (Dandayamana-Bibhaktapada-Paschimotthanasana)
With the feet wide apart, you fold forward, hold the heels from behind and draw the forehead toward the floor. After the effort of the balancing series, this posture lets the heart rate settle while it stretches the hamstrings and inner thighs. Beginner cue: keep the knees straight and fold only as far as your hamstrings allow. Touching the floor with your head is not the goal.
Triangle Pose (Trikanasana)
Triangle combines a deep lunge with a side stretch. The front knee bends to a right angle while the arms stay in one straight line, one hand by the front toes and the other reaching up. The posture works the legs, hips and the whole trunk together, which is why many teachers treat it as the centrepiece of the standing series. Beginner cue: sink the hips first, then reach the arm.
Standing Separate Leg Head to Knee Pose (Dandayamana-Bibhaktapada-Janushirasana)
This is the posture most often missing from online lists. You turn to one side, press your palms together overhead, then fold down over the front leg until the forehead touches the knee with the chin tucked. It stretches the back of the legs and the neck in a tight, compressed shape. Beginner cue: keep both legs straight and round the spine forward, rather than reaching with the head.
Tree Pose (Tadasana)
Tree is the calm after the hardest part of the standing series. You stand on one leg, place the other foot high on the standing thigh, bring the palms together at the chest and ease the bent knee down and back. It works hip mobility and steady balance. Beginner cue: if the foot slides, hold it in place with one hand. A stable hip matters more than a neat picture.
Toe Stand (Padangustasana)
Toe Stand starts from Tree. You fold forward, bring the hands to the floor, and lower down until you are balanced on the ball of one foot with the hips resting on the heel, palms together in front of the chest. The knees and ankles need to be ready for it. Beginner cue: many students stay in Tree for weeks before trying Toe Stand, and that is the right call if the knee feels any strain.
Several of these standing postures have their own in-depth breakdowns, including Half Moon and Awkward Pose, with every stage and the most common alignment mistakes.
Savasana: Why Rest Is Part of the Bikram Sequence
After Toe Stand you lie flat on your back for about two minutes in Dead Body Pose. It is counted as a posture because doing it properly takes effort: lying completely still, eyes open, not wiping sweat, not reaching for water, while the heart rate comes down.
Throughout the floor series you return to a short Savasana of around 20 seconds between postures. That same rule holds if the heat gets too much at any point in class. Lie down in Savasana and stay in the room. Leaving interrupts the heat adaptation you are building, while lying still keeps it going.
The Floor Series: 14 Bikram Yoga Floor Poses Explained
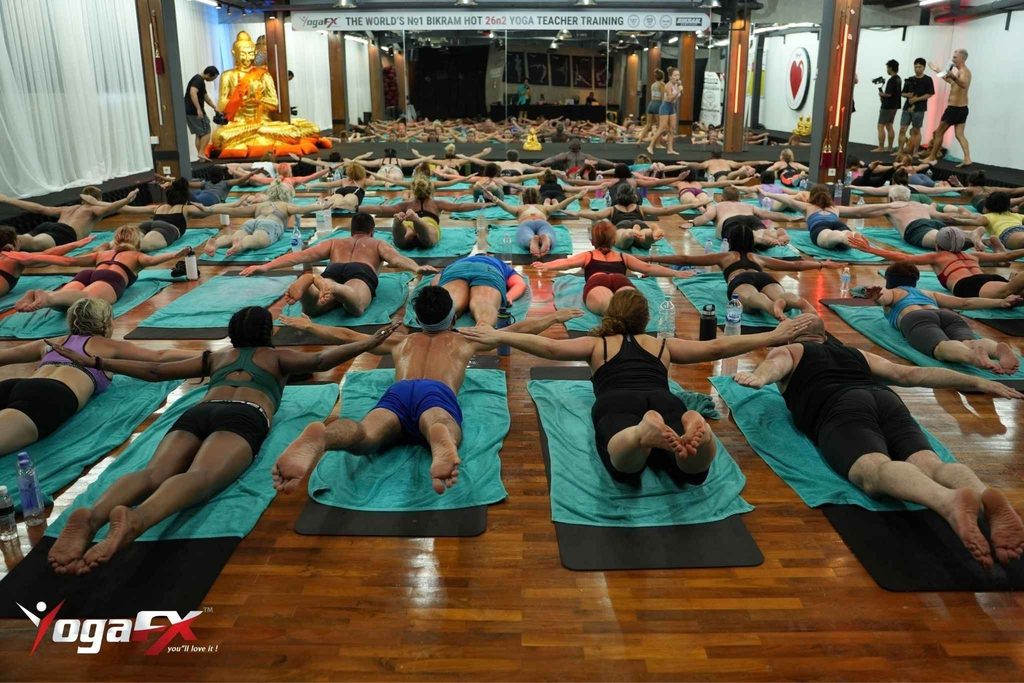
The floor series is the second half of the class. The heart rate comes down compared with the standing series, but the room and your body stay warm, which helps the backbends and forward bends go deeper. Most postures are done twice, with a Savasana in between.
Wind-Removing Pose (Pavanamuktasana)
The floor series opens on your back. You hug the right knee into the chest, then the left, then both, keeping the other leg flat and relaxed. The posture releases the hips and lower back after an hour of standing work. Beginner cue: keep the shoulders and head down on the floor and pull with the arms, not the neck.
Sit-Up
Sit-Up links the floor postures together. From lying on your back, you sweep the arms overhead, sit up in one motion, and reach for your toes with a strong exhale. It is brief, but it is how you move from your back to your front throughout the floor series. Beginner cue: let the swing of the arms carry you up, and keep your heels on the floor.
Cobra Pose (Bhujangasana)
Cobra is the first of four spine-strengthening postures. Lying face down with the hands under the shoulders, you lift the upper body mainly with the back muscles rather than pushing through the arms. The gentle backbend works the lower back. Beginner cue: keep the elbows close to the ribs and the legs together, and lift only as high as the back carries you.
Locust Pose (Salabhasana)
In Locust you lie with your arms underneath your body, palms down, and lift one leg, then the other, then both together. It is a small movement that takes real effort from the lower back, glutes and hamstrings. Beginner cue: keep the chin forward on the mat and the lifted leg straight. A straight line from hip to heel matters more than height.
Full Locust Pose (Poorna-Salabhasana)
Full Locust lifts the arms, chest and legs off the floor together, with the arms stretched out to the sides like wings, so that only the belly stays down. It is the most demanding of the back-strengthening postures. Beginner cue: look up and forward, and lift the legs as firmly as the chest so the body has something to balance against.
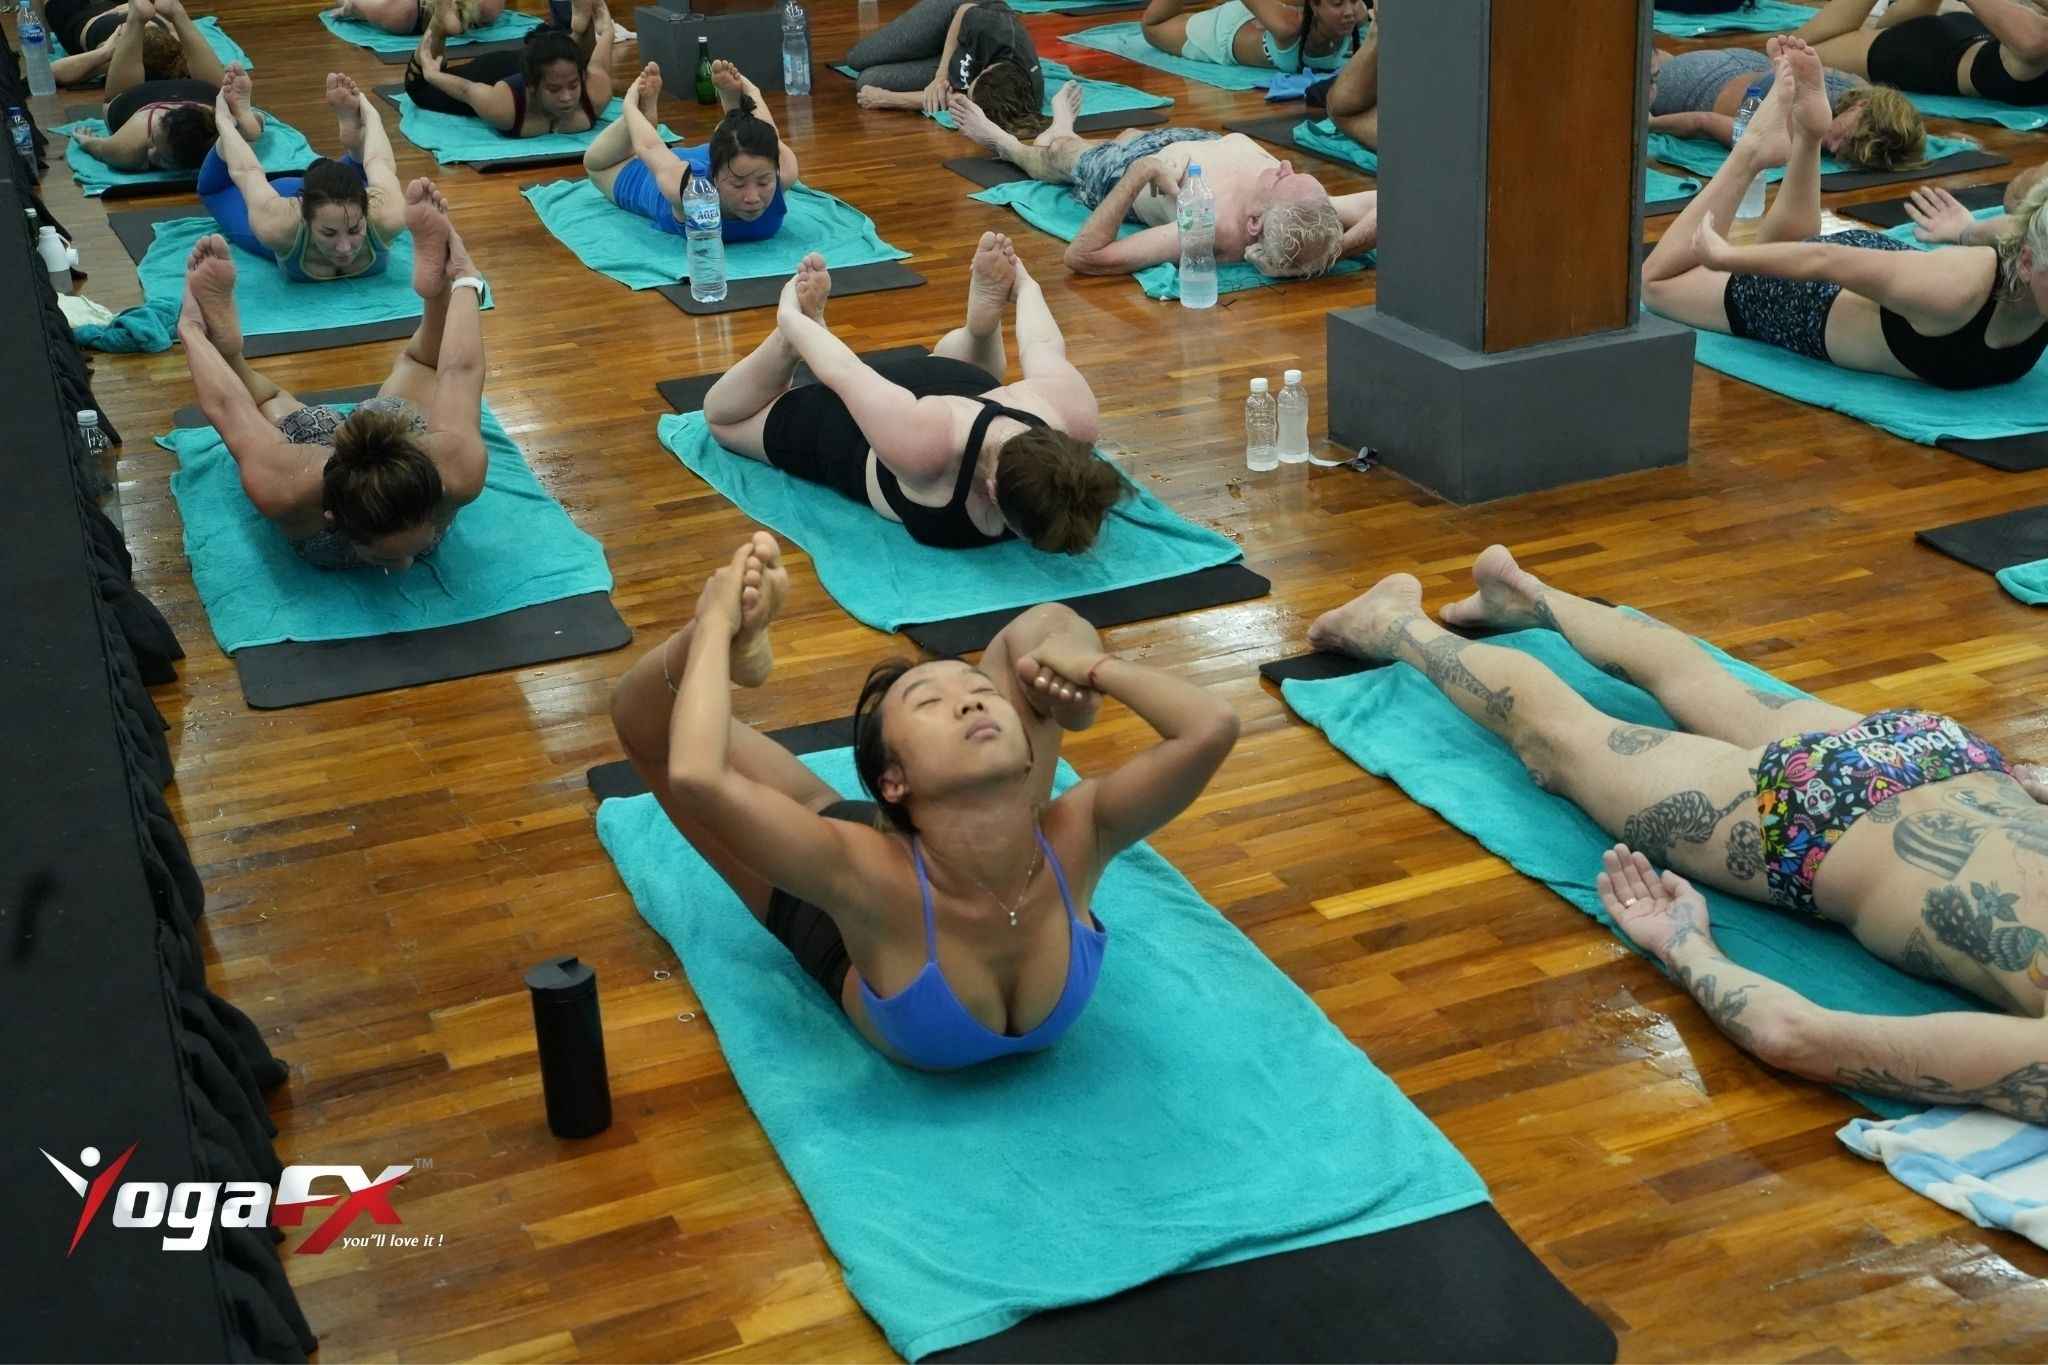
Bow Pose (Dhanurasana)
Bow asks you to reach back, take hold of the feet from the outside, and kick them up and back so the chest lifts and the body forms the shape of a drawn bow. It is a full backbend powered by the legs. Beginner cue: kick harder than you pull. The legs do the lifting, the arms just hold on.
Fixed Firm Pose (Supta-Vajrasana)
Fixed Firm starts sitting between your heels, then leaning back onto the elbows and, if the knees allow, all the way down with the arms overhead. It stretches the front of the thighs and the hip flexors. Beginner cue: stay upright or on the elbows if there is any pain in the knees, and keep the knees no wider than the hips.
Half Tortoise Pose (Ardha-Kurmasana)
From sitting on your heels, you stretch the arms overhead with palms together and fold forward until the little fingers and forehead touch the floor. The long reach stretches the shoulders and upper back, and the posture also feels quietly restful. Beginner cue: keep the hips on the heels and keep reaching the arms forward, rather than resting on them.
Camel Pose (Ustrasana)
Camel is the deepest backbend in the sequence. Kneeling with the knees hip-width apart, you push the hips forward, drop the head back, and take hold of the heels. For many students Camel is as much a mental posture as a physical one, because dropping backward can feel intense. Beginner cue: keep pushing the hips forward and stay with your hands on your lower back if you need to.
Rabbit Pose (Sasangasana)
Rabbit comes straight after Camel as its counterpose. Holding your heels, you tuck the chin, curl forward onto the top of the head with the forehead close to the knees, then lift the hips. The spine moves from its deepest backbend to its deepest forward curve in a few breaths. Beginner cue: keep hold of the heels throughout and put almost no weight on the head.
Head to Knee Pose (Janushirasana)
Seated with one leg extended and the other foot tucked against the inner thigh, you take hold of the extended foot, bend the elbows, and bring the forehead to the knee. It stretches the hamstrings and lower back one side at a time. Beginner cue: bend the extended knee to bring the forehead down first, then work on straightening the leg.
Stretching Pose (Paschimotthanasana)
In Stretching both legs extend in front with the feet flexed, and you fold forward, hold the toes and pull the upper body down onto the thighs. Most lists combine it with Head to Knee as one posture. Beginner cue: pull with the arms and keep the heels on the floor. The legs lengthen with repetition, not force.
Spine Twisting Pose (Ardha-Matsyendrasana)
The last posture is a seated twist, done once on each side. One leg is folded, the other foot crosses over the knee, and you rotate the whole spine toward the back wall while looking over your shoulder. Beginner cue: sit tall first, then twist. Rotation without height tends to collapse into the lower back.
Blowing in Firm (Kapalbhati in Vajrasana)
The class closes with the second breathing exercise, kneeling on the heels. You exhale sharply and repeatedly through the mouth as the abdomen snaps in, letting each inhale happen on its own, before lying down for final Savasana. Beginner cue: focus on the strength of each exhale rather than its speed.
The floor postures that most students want extra help with, like Camel, also have dedicated guides covering alignment and why the posture feels the way it does.
The Hardest Bikram Yoga Poses and the Advanced Series
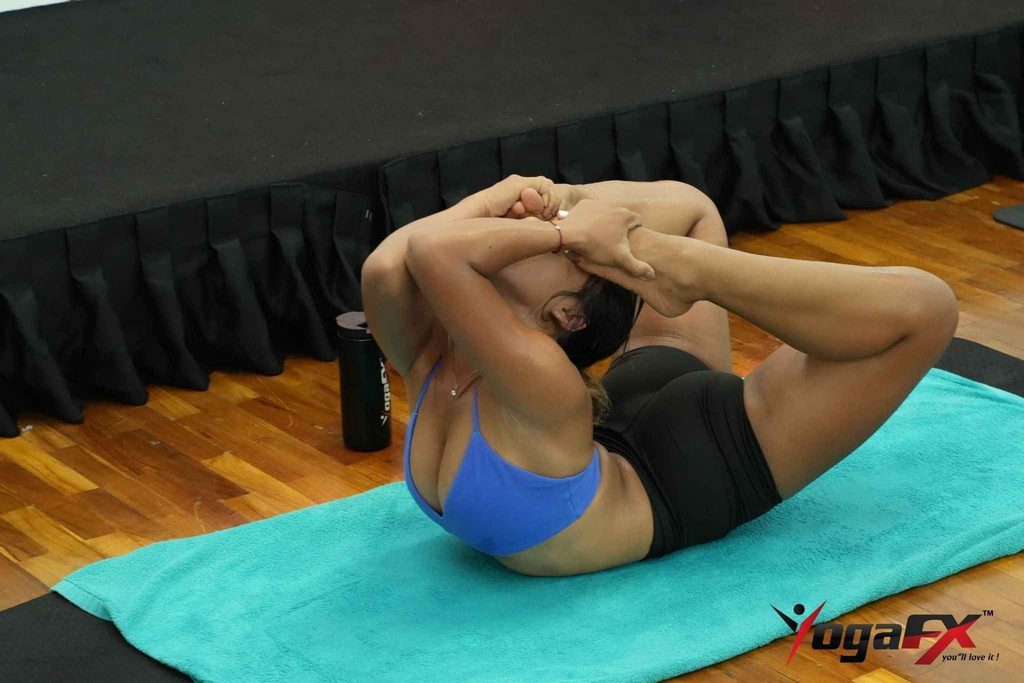
Ask a room of regular practitioners which posture is the hardest and the same four names come up. None of them is advanced in shape. They are hard because the heat, the balance and the hold all arrive at once.
| Posture | Why it is hard | Common mistake | What helps |
|---|---|---|---|
| Standing Bow Pulling | Balance, backbend and a climbing heart rate together | Dropping the chest before the leg kicks | Kick first, let the upper body tip forward in response |
| Balancing Stick | Whole-body tension held in one straight line | Letting the lifted leg sag below hip height | Stretch arms and leg in opposite directions |
| Camel | Deep backbend with the head dropped back | Sitting the hips back toward the heels | Keep pushing the hips forward, hands on the lower back if needed |
| Toe Stand | Balance on one foot with the knee fully bent | Forcing the knee before the hip is open | Stay in Tree until the hip opens and the knee feels ready |
Mr. Ian Terry E-RYT 500, who founded YogaFX in 2017 after five direct training events under Bikram Choudhury between 2012 and 2019, has taught this sequence for more than 12,000 hours. The pattern across that time is consistent: the postures students fear on day one are rarely the ones that hold them back a year later. Patience in the hips and hamstrings usually matters more than strength.
Beyond the 26 postures there is an advanced series, commonly described as 84 postures, which builds on the beginning sequence with deeper backbends, arm balances and inversions. It is not taught in the everyday 90-minute class. Advanced Bikram yoga poses are usually approached through workshops and teacher training, once the foundation sequence is solid.
Bikram Yoga Poses for Beginners: What Your First Class Actually Asks
Your first class does not ask you to complete all 26 postures. It asks you to try both sets of each one, stay in the room for 90 minutes, and lie down in Savasana whenever you need to. That is a complete first class.
Three postures usually surprise beginners most: Awkward Pose, because the thighs burn earlier than expected; Standing Bow Pulling, because the heart rate climbs so fast; and Camel, because the backbend can feel emotional as well as physical. Go halfway in each and you are still getting the benefit of the sequence.
If this will be your first time, our Bikram yoga for beginners survival guide covers hydration, what to bring, and what the first ten minutes really feel like.
What the Research Says About the Bikram Sequence
The fixed sequence makes Bikram yoga unusually easy to study, because every participant does the same 26 postures in the same conditions. In an eight-week study, Tracy and Hart (2013) found improvements in lower back and hamstring flexibility and in deadlift strength, with the research reporting around 20% gains in posterior chain strength compared with a control group.
On the effort side, a 2014 University of Wisconsin study led by Porcari measured an average of 333 kilocalories for women and 460 for men across a 90-minute class, with heart rates reaching roughly 80% of maximum at times. A 2025 systematic review by Willmott and colleagues, covering 43 studies and 942 participants, found generally positive effects on flexibility and well-being, while noting that many studies were small.
These results come from regular practice over weeks, not a single class, and the studies have real limitations in size and design. Sweating does not detoxify the body. If you have a heart condition, are pregnant, or manage any chronic health issue, consult a healthcare professional before starting heated yoga.
How to Learn the 26 Poses: Charts, Videos and Posture Clinic
A common question from new students is where to learn the poses before the first class. Charts and videos help with the shapes and the order. What they cannot do is teach timing, because in class every posture is paced by the teacher’s dialogue, not a demonstration.
- Use the chart for the order. The table at the top of this page works as a printable reference. Knowing what comes next removes a lot of first-class anxiety.
- Use video for the shapes. Watching the sequence once or twice helps you recognise each posture when the teacher names it.
- Use a personalised guide for your body. Our 26 Poses Guide and Bikram Yoga Pose Personalizer adapt the focus of each posture to your experience level and any physical limitations.
- Let the class do the rest. One class in the room teaches the rhythm of the sequence faster than many hours of watching.
For anyone who wants to teach the poses, the learning goes further. In teacher training, posture clinic breaks each of the 26 postures down one at a time: trainees demonstrate, the group studies the alignment, and the trainer corrects the details. The spoken dialogue is learned alongside it, which is why the full script is taught in training rather than from an audio recording.
Practising All 26 Bikram Postures in Natural Bali Heat at YogaFX
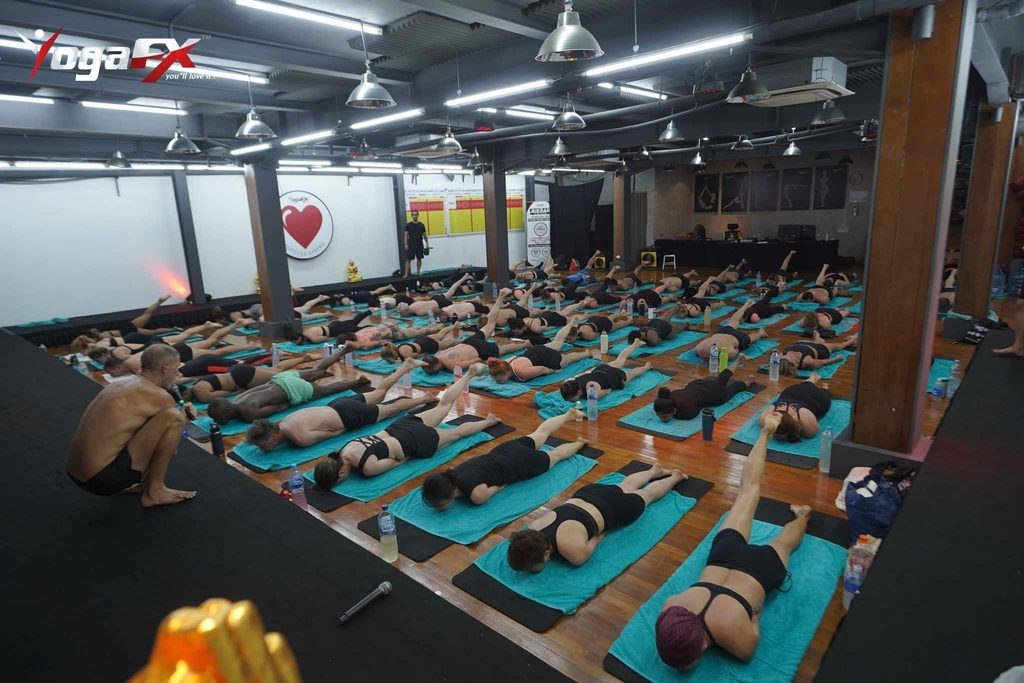
At YogaFX Bali, the full 26&2 sequence runs every day at both of our studios, Seminyak and Canggu, from 06:00 to 22:00. The room sits at 40°C and around 40% humidity, reached with Bali’s own tropical heat rather than electric heaters, which is why the air feels humid and even instead of dry.
You can take the full sequence in our 90-minute Bikram class, the format the research above is based on. Our guide to practising in natural Bali heat explains how that heat changes the feel of the postures compared with an electrically heated studio at home.
Classes are taught by teachers trained directly by Mr. Ian Terry, including Ms. Ivara Candra Kartika in Seminyak, who won Gold and Bronze at the 2026 World Yogasana Championship in Ahmedabad. If the 26 poses become more than a holiday habit, the YogaFX Teacher Training programme is where students learn to teach them.
New to the studio? Heat, sequence and dialogue make far more sense in the room than on a page. Claim your Free Guest Pass and take your first class at our Seminyak or Canggu studio.
FAQ
How many poses are in Bikram yoga?
Bikram yoga has 26 postures and 2 breathing exercises, practised in a fixed order over 90 minutes. Some lists show 24 or 25 because they merge Half Moon with Hands to Feet, or Head to Knee with Stretching, or leave out Sit-Up and Savasana. The sequence itself is the same in every class.
What are the 26 Bikram poses in order?
After Standing Deep Breathing come 12 standing postures: Half Moon, Hands to Feet, Awkward, Eagle, Standing Head to Knee, Standing Bow, Balancing Stick, Separate Leg Stretching, Triangle, Separate Leg Head to Knee, Tree and Toe Stand. Then Savasana and the floor series, ending with Spine Twisting and Blowing in Firm.
Are Bikram yoga and hot yoga poses the same?
Not always. Bikram yoga uses the same 26 postures and 2 breathing exercises in a fixed order every class. Hot yoga is a broader category covering any yoga in a heated room, so a hot vinyasa or hot pilates class can use completely different poses that change from teacher to teacher.
Is Bikram yoga good for beginners?
Yes. The fixed sequence and spoken dialogue guide you through every posture, so you never need to guess what comes next. Beginners are not expected to complete every pose. Try both sets, rest in Savasana when needed, and stay in the room. Most people feel the heat ease after a few classes.
What is the hardest Bikram yoga pose?
Standing Bow Pulling, Balancing Stick, Camel and Toe Stand are the postures practitioners most often name. Standing Bow and Balancing Stick combine balance with a rapidly climbing heart rate, Camel is the deepest backbend, and Toe Stand asks for strong knees and open hips. Difficulty usually eases with regular practice.
Does Bikram yoga build strength?
Research suggests it can. In an eight-week study, Tracy and Hart (2013) reported gains in deadlift strength and lower back and hamstring flexibility among Bikram practitioners compared with a control group. Postures like Awkward, Locust and Bow load the legs and back, while the balances build stability. Results build over weeks of practice.